I would like to thank Cucu Tudor for collaborating with me in creating this tutorial. In this tutorial you will learn how to use the brush and smudge tools and create a close to reality portrait.
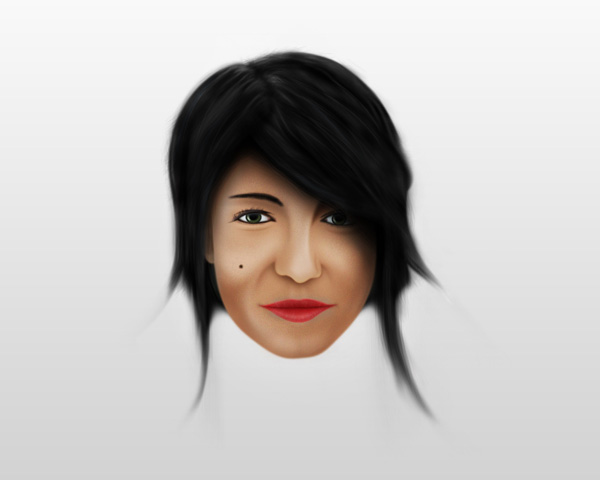
Final Image Preview
First of all take a look at the illustration you will be creating. You can view the final image preview below or view.
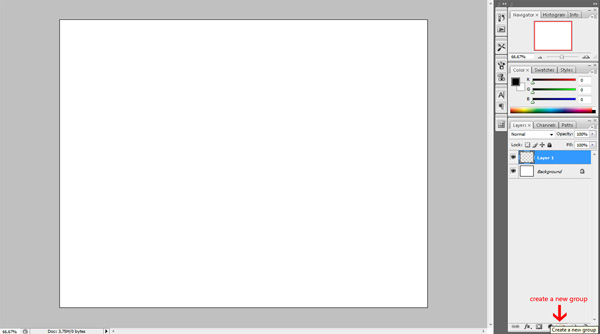
Step 1
First of all open a new document in Photoshop and then create a group of layers named “hair”, here you add all the layers for the hair. Create a new layer in the group (Command + Shift + N).
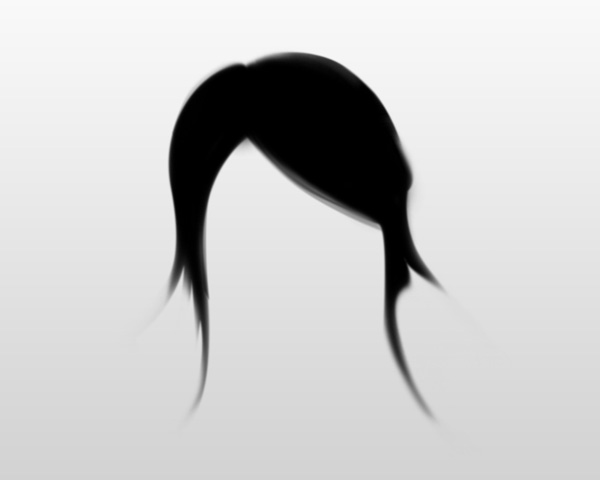
Step 2
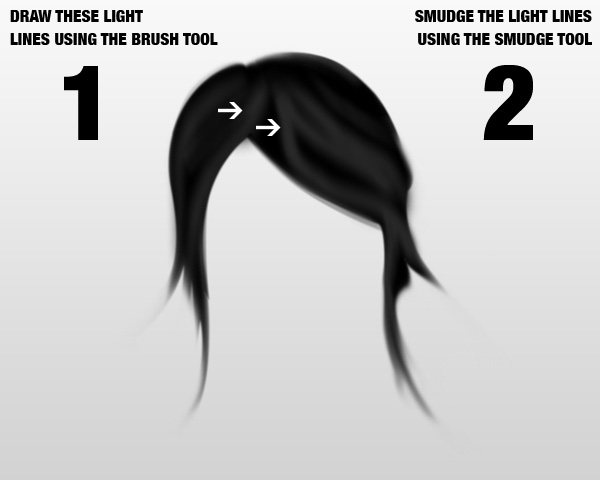
You will start with the hair. Add the hair color and draw with the brush the shape of the haircut. The color I used is black. Because you are experimenting it is good to try with a different color and try to follow this tutorial to get the same results, also you could try a different haircut.
Step 3
Then choose a brighter color (using the code: #282828) and draw some curves and smudge the edges with the Smudge Tool (R), like in the image below.
Step 4
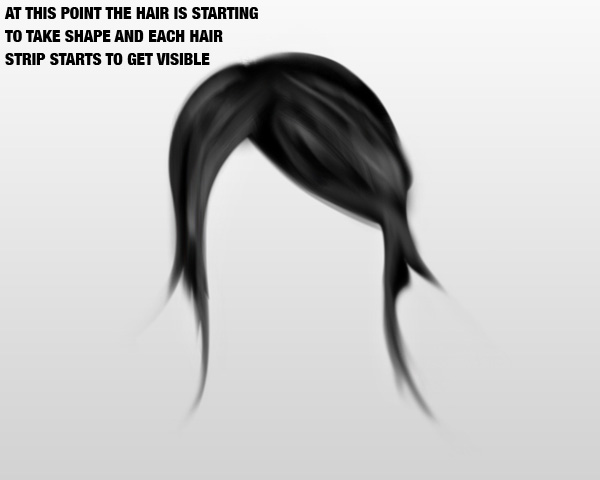
Also with a brighter color draw some lines and then give them a motion blur effect (Filter > Blur > Motion Blur) and then smudge the edges again.
Step 5
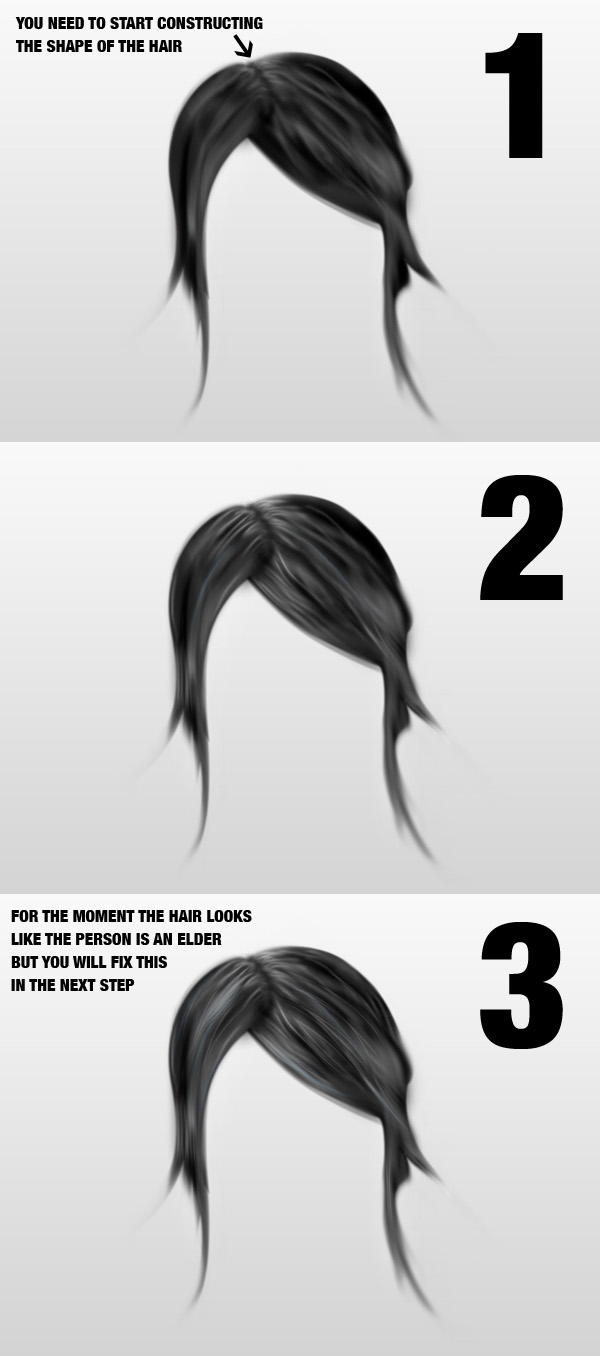
Brush many lines with a small hardness and master diameter to give a more realistic look, then you can blur it using Gaussian Blur (Filter > Blur > Gaussian Blur).
Step 6
Next you need to go to Image > Adjustments > Brightness/Contrast (make sure that you have the hair layer selected) and play around with the settings until the white hair will slowly fade out.
Step 7
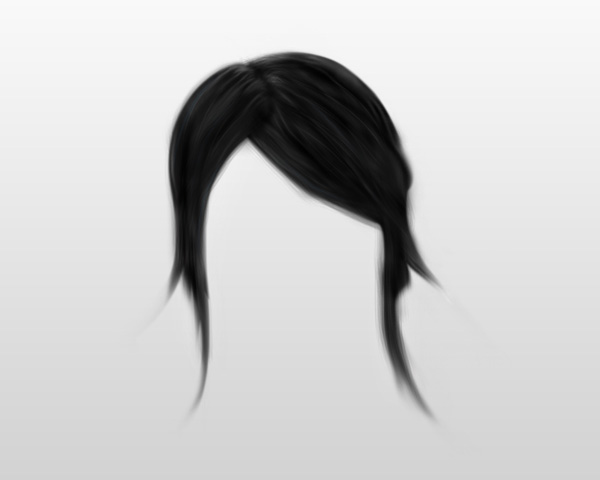
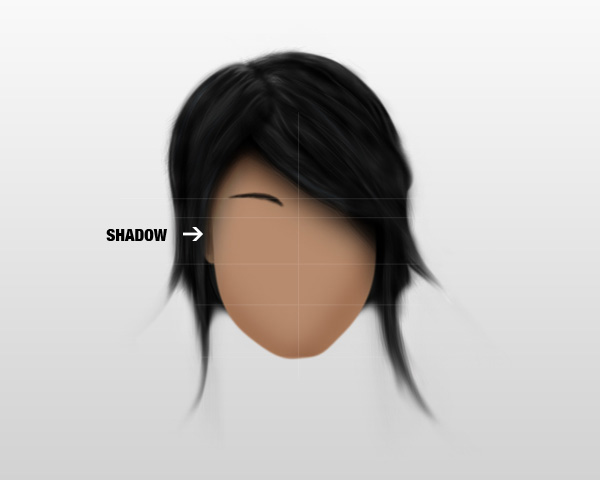
The last step in drawing the hair part is to brush again in a new layer with a special brush (I marked the brush in the image below), using Flow around 10% and Opacity 70%. Create a new layer named “shadow” above the background layer and draw a sleek shadow.

Step 8
Create a new layer place it below the first hair layer you worked on and add more hair, which is seen coming from the back of the head.
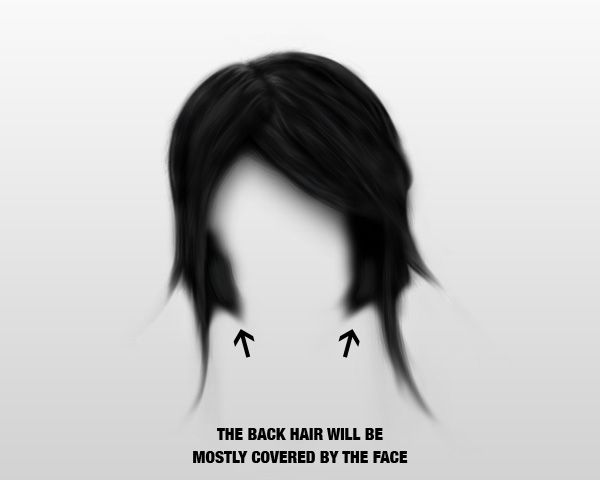
Step 9
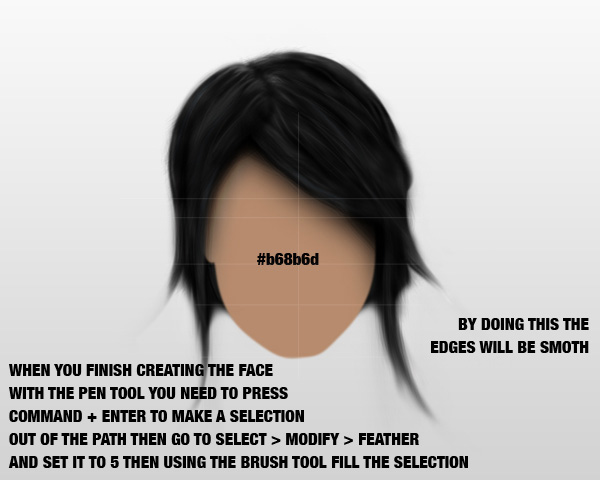
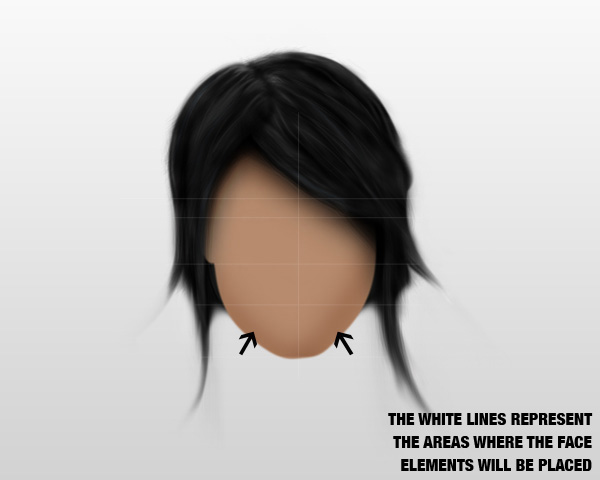
Create a new group and name it “face” and place it below all the other layers except the back hair layer. Create the shape of the face using the Pen Tool (P) with a skin color #b68b6d.
Step 10
According to the light source (which is from the front), draw some shading using a soft Brush (B). This time use the same color but give it a slightly darker touch #795944.
Step 11
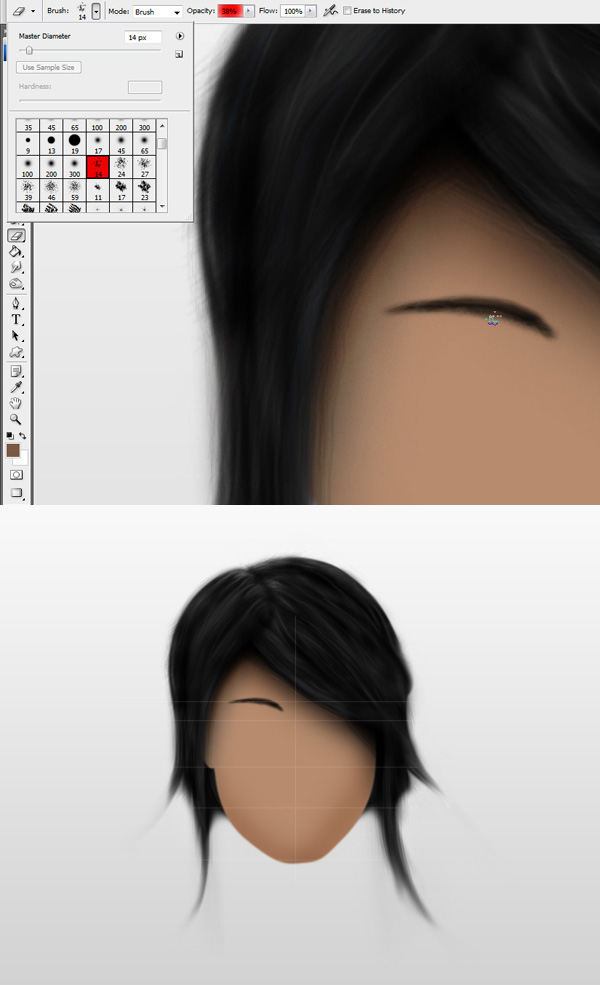
Use the same way and create a group for each other when you start to draw a part of the face. In the group “eyebrow” make a shape of the eyebrow with the Pen Tool (P), fill it with black then erase the edges with the brush I used (14px / Opacity 38%).
Step 12
Using a soft brush set to Opacity 40% add some shadow on the ear Color used is black.
Step 13
Create a new group and name it “eyes” and make a shape of the eyes with the Pen Tool (P) then fill the strokes. Smudge the eyes a little bit and then create a new layer and make the sclera white.

Step 14
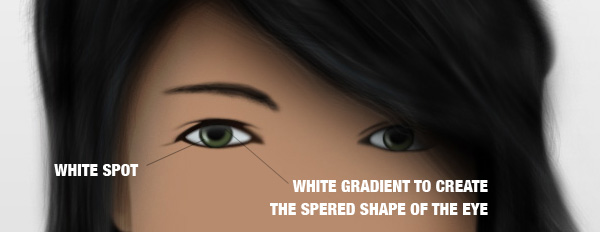
Now it is time to make the iris. Create a new layer using the Elliptical Marquee Tool (M) and fill it with black. Color the eyes with #434d30 or chose other color if you please. Then you must make it shiny, so brush a little white spot and smudge it.
Step 15
Create a new layer and name it “eyelashes”. Using the brush represented in the image below you need to create the eyelashes one by one.

Step 16
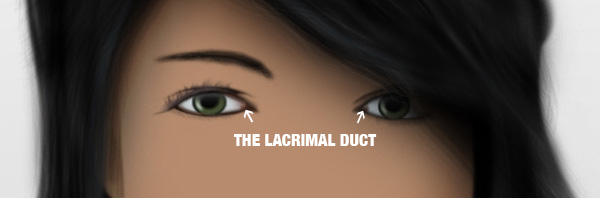
Create a new layer and name it “lachrymal duct”. Make 2 circles and place them where the lachrymal duct is and use this color cod #985c55. Then double click the circles layer to enter the Blending Options and use Bevel And Emboss (if it’s needed reduce the opacity of the highlight) and then smudge it a little bit.
Step 17
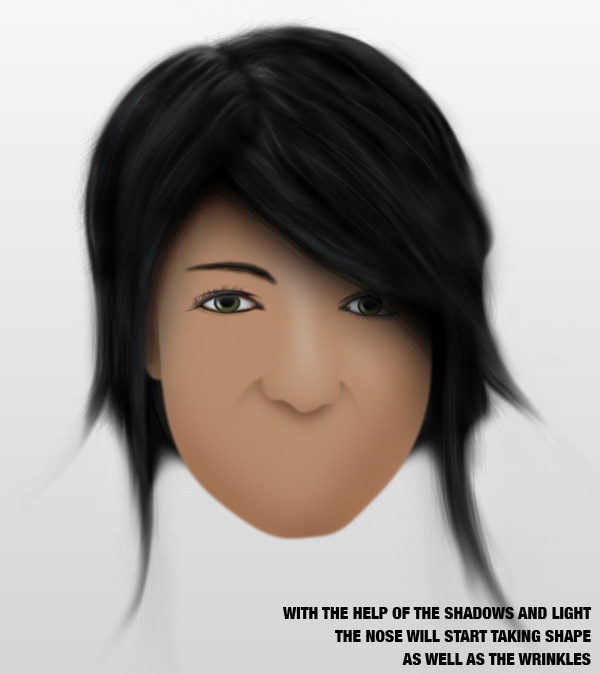
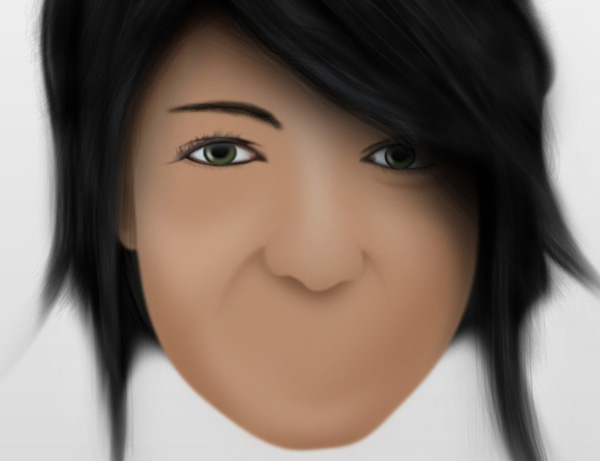
You must start adding some more lights and shadows to the portrait and start giving some shape. The nose and the cheeks will be created using light and dark brushes, Burn and Dodge Tools.
Also you will have to use the Smudge Tool after you add the lights and shadows.
Step 18
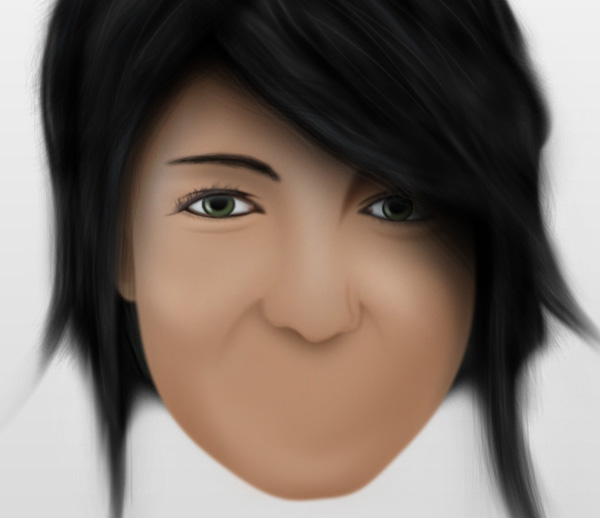
Add more lights to accentuate the cheeks and the chin parts. Also you must add the shadow on the right cheek coming from the fringe.
Step 19
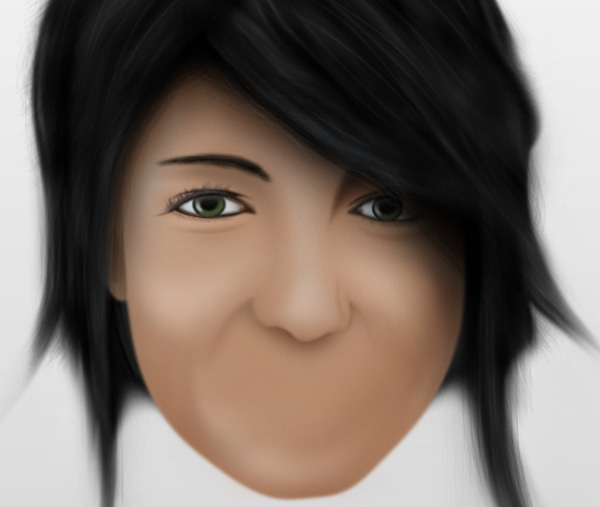
Add more light around the left eye and shadow to the right eye. The face is becoming to get a real view.
Step 20
You should continue accentuating the nose with a brighter color, the cheeks and the chin.
Step 21
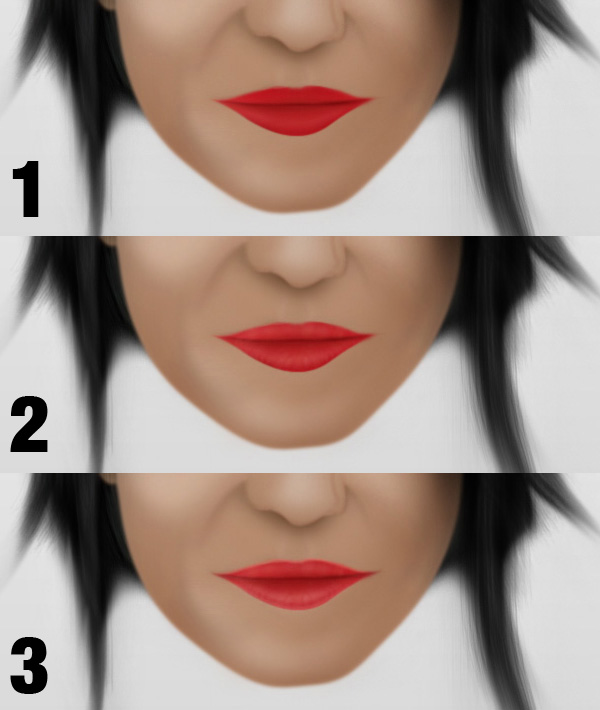
Now we start drawing the mouth. First of all create a new layer and name it “lips”. Draw a shape and make it darker at the edges. Colors used: #840f0f, #ab1e1f and #c14141.

Step 22
Draw the base line, which separates the lips. To bring more realism you need to draw some dark and light lines on the lips. To make it shiny draw a white line and then smudge it. To the upper lip draw a pink stroke. Remember that the key tools used in creating this type of portrait are the brush tool and the smudge tool.
Step 23
Add some more lights and shadow to the left cheek and nose.
Step 24
In this step you should make the upper lip darker and the chin more accentuated.
Step 25
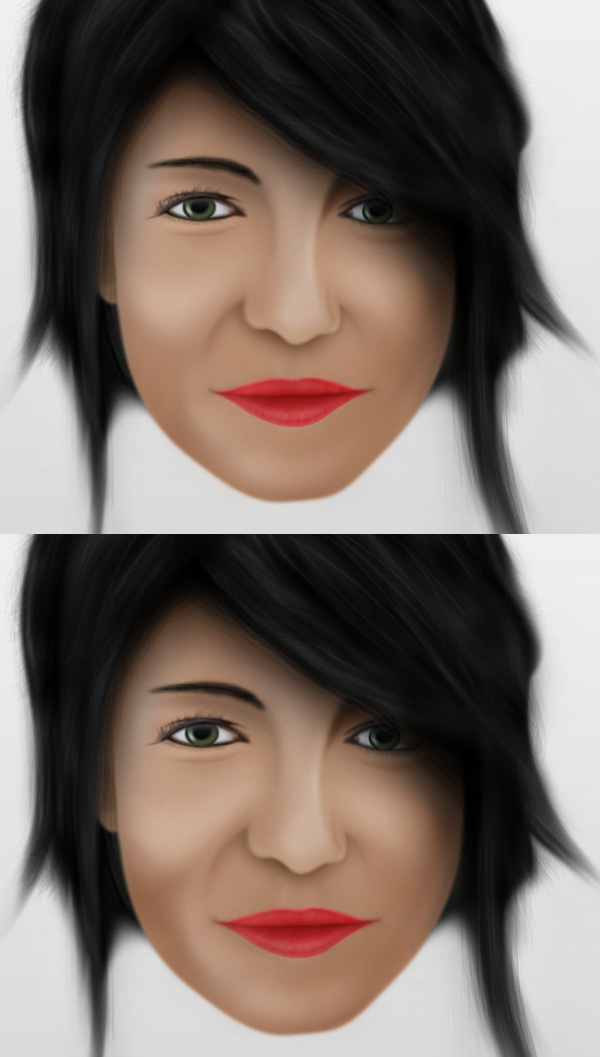
In this step you should copy all the face and change the contrast. To do so you need to make the background invisible then press (Command + A) and go to Edit > Copy Merged then go to Edit > Paste. This will copy you entire face with all the layers and place them all into a single layer.
Make the background visible again then select the head layer you just created. Go to Image > Adjustments > Brightness/Contrast.
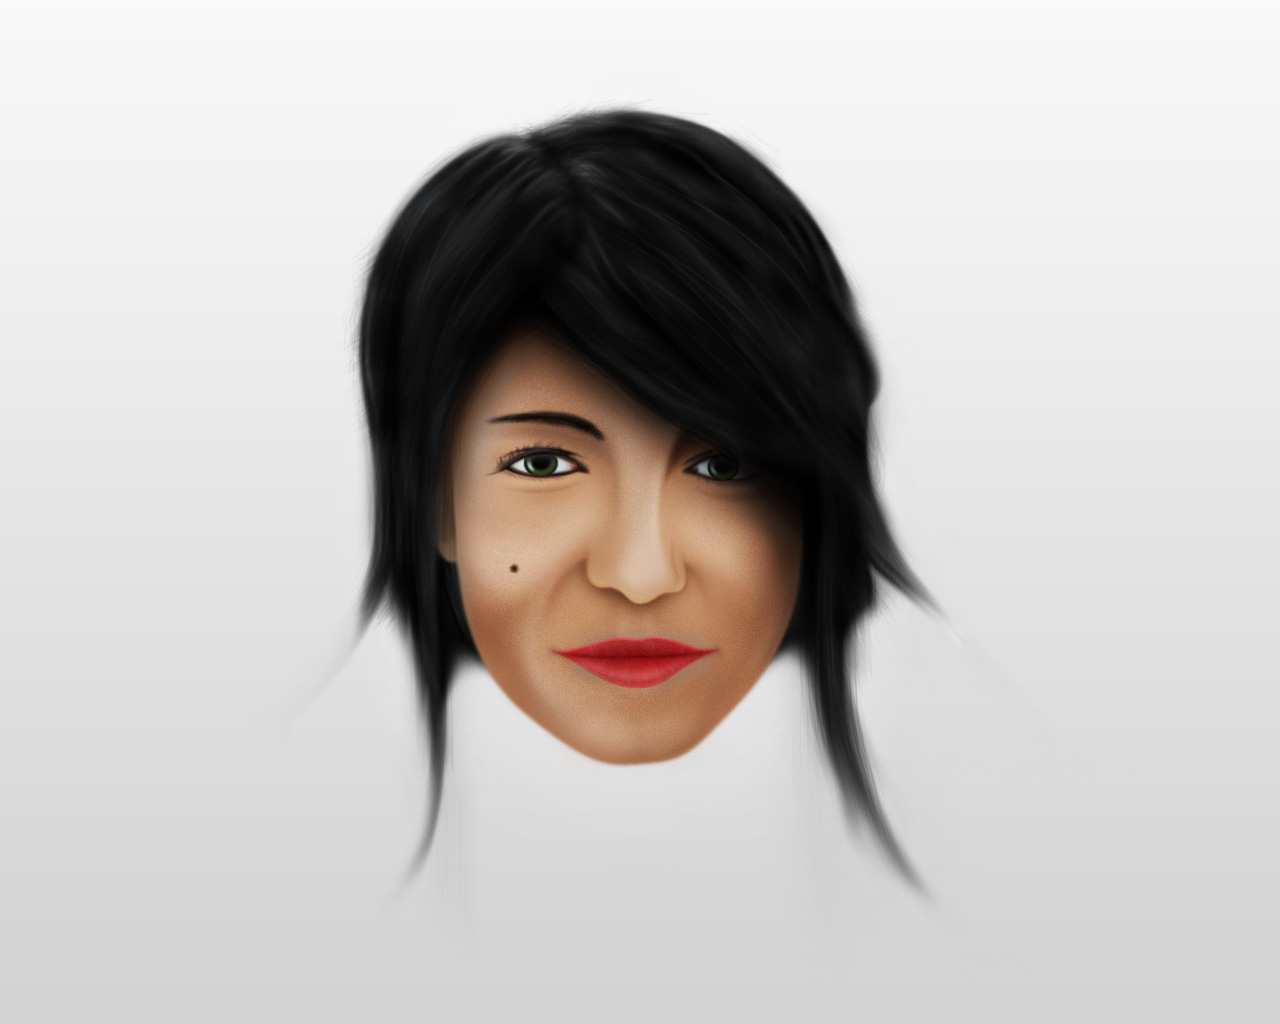
Conclusion
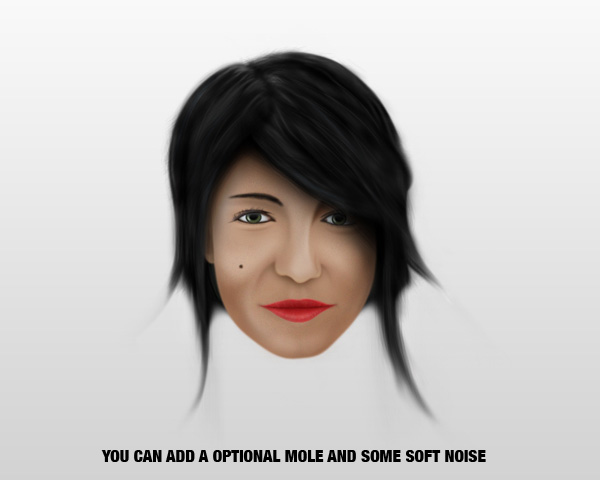
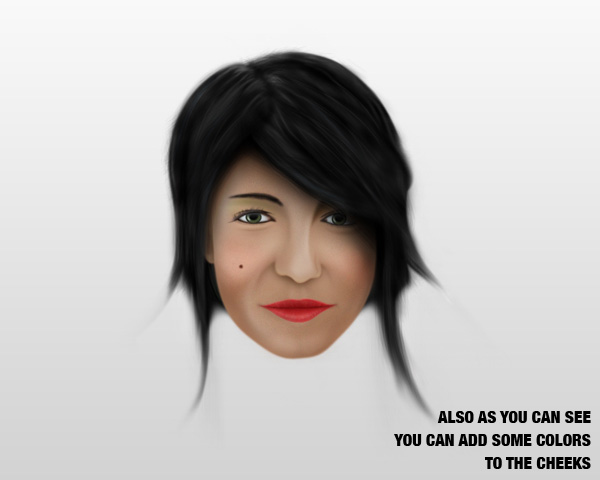
In the end you can add some pink color on the cheeks and a little bit of green on the eyebrows using the same brush and smudge tools. Hope you learned some new techniques and had fun while doing so. You can view the final image below or view a larger version here.


0 comments:
Post a Comment