Showing posts with label az. Show all posts

Friday, 9 December 2011

create a furious pink panther poster

Everyone knows the pink panther! I sure love the old cartoons and remember this old VCR tape packed with episodes I used to watch as a kid, over and over again. Well, there were lots of episodes, so it wasn’t as obsessive as it sounds…
Anyway, I thought it was time to give the old feline a modern, furious twist, and so I createdthis T-shirt for Design by Humans, for which I would greatly appreciate your vote!
Apart from shamelessly promoting myself, I’m going to show you how to create a poster of this new and improved pink panther using some great online resources, from Bittbox and the Go Media Arsenal. You can use just about any version of Photoshop and will need to brush up your art skills for this poster with a pen tablet.
preview

Thursday, 8 December 2011

Creating ‘Broken Link’ Advanced Tutorial


Still reading? Excellent stuff. This tutorial is going to focus on design choices and a little bit of theory. There are literally thousands of tutorials online that cover keyboard shortcuts and clever ways to tweak your custom brushes but less cover the reasons why we’ve chosen to do what we do when we’re creating a piece of art, which is often more important than the process of how you got there (but don’t worry, there will be some of that too!). And we’ve even included a few custom brushes that you can download here.

Final Image:

Here’s the final image that we will be creating:

Wednesday, 6 July 2011

End of the World Photo Manipulation


Preview:

Step 1:

Let's start out by creating a new file. I used a 800x533 pixels canvas set at 72dpi, and I filled my background with a black color. Now insert a stock photo of a highway scene, you can download the image used in this tutorial here

Tuesday, 5 July 2011

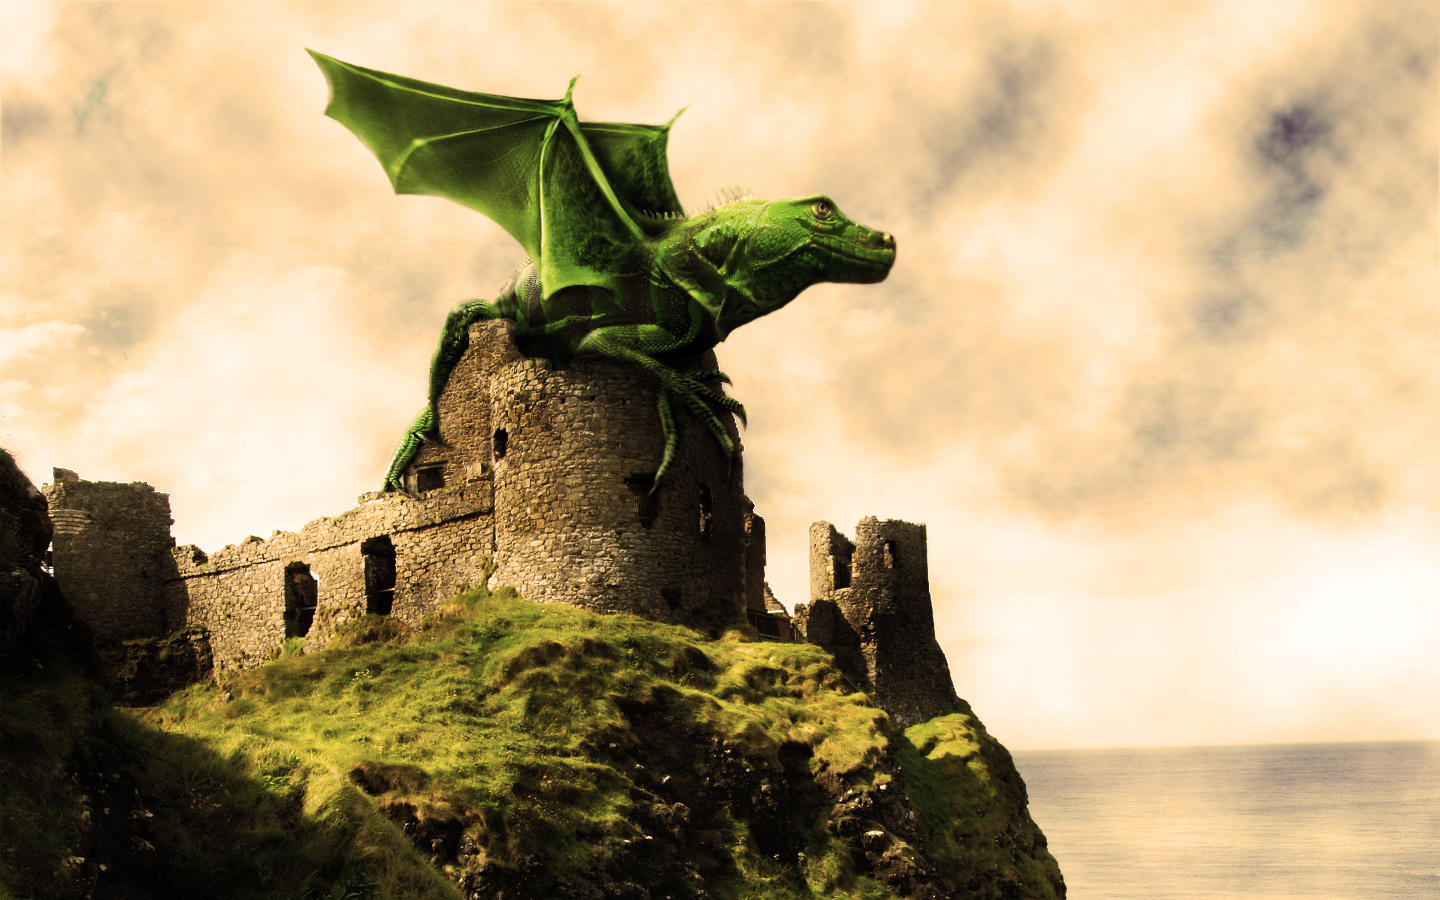
In Photoshop How to Design a Dramatic Winged Dragon


We’ll be creating a fantasy illustration in this tutorial, I’ll show you how to merge two images into one using layer Masks and reshape a picture using the Liquify Filter. We’ll take an image of a baby iguana and another of a bat, then combine the two to create a fantasy dragon. Let’s get started!

Final Image Preview

First, take a look at the image we’ll be creating. Want access to full PSD files and downloadable copies of every tutorial, including this one? You can view the final image preview below or view a larger version here.
Final Click

Tuesday, 21 June 2011

create a fantastic glowing decorated time piece


Create a Fantastic Glowing Decorated Time Piece Final Image


Step 1

Create a new .psd file of 2000px width and 3300px height, 72dpi.
Click twice on the Background to make an ordinary layer of it as you’ll need to apply layer style later. Rename this Layer 0 as Background again for your convenience.